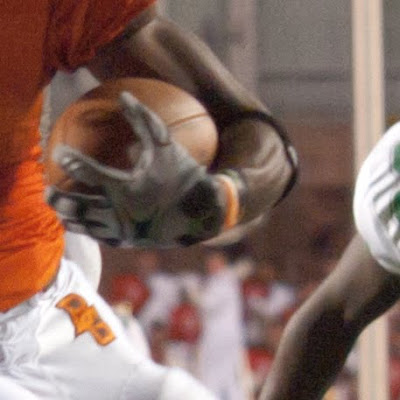
I wanted to share my noise reduction techniques. I don't personally like a lot of noise reduction, because noise can imply sharpness, but there are a few times it's necessary because of how extreme and attention drawing it can be. Above is the final image after denoising. Here is the original:
In order to really show the steps, I've cropped in to the center area so I can show you the results at 100% 1:1 pixel ratio. Here is the original image with no luminance noise reduction. I like Lightrooms color noise reduction, and leave it on 7 for up to ISO 800, and up it to 12 for ISO 1600 (your camera will require different settings, slide till the color noise becomes un noticeable).
Next, I duplicate the entire layer, and use Filter > noise > reduce noise and slide it to maximum affect, with sharpening at zero. The image is a bit mushy but has a lot less noise.
- I copy that de-noised layer into the clipboard. (ctrl+a for select all, then ctrl+c for copy).
- Then, I add a layer mask, see here for more, and alt+click on the mask so I am "inside" the mask, it will be all white.
- I use paste (ctrl+v) to paste the image into the mask. Now you have a black and white version of the layer in the mask. Masks work by showing the rgb of the layer when the mask pixels are white, and hiding when black, with opacity varying by the shade of grey. The problem is that when you paste, it will show the dark areas and hide the light areas, and we want the reverse.
- Hit ctrl+i to invert the mask.
What this does, is it reveals the denoised layer in the shadows, and hides it in the highlights. The image itself controls the masking. The reason this works is that properly exposed areas (the light areas) tend to show detail better and noise is less offensive. De-noising these areas kills details. However at high-ISOs shadow areas tend to lack detail and have lots of noise, so denoising these areas tends not to have as much of a blurring affect. By using the image itself to mask the noise, you get a perfect light to dark transition of full noise reduction in the shadows, to none in the highlights. You can even paint further into the mask with a brush, or use curve/adjustments for fine tuning the cutoff of noise reduction.

Better, but the dark areas still have too much noise, it's especially evident in the background blurry areas from using a large aperture lens. A normal gaussian blur destroys too much detail, so I use a smart blur. This will vary per image the values you need, but you want to blur to the point all the noise in the smooth pools of solid color disappear, and adjust the other settings to that the details and hard lines of the actual sharp areas remain.
Smart blur however leaves too hard of edges for what we want, so then I do a gaussian blur with a small enough value to just smooth those hard edges created by the smart blur. This results in an image completely devoid of noise, but much less blurry than using plain gaussian blurring to obscure it.
Next, I use the "blend-if" layer blending option to reveal this noise-free layer only in the darkest areas. I covered blend if earlier on the blog. The settings I used are below, but you can easily adjust to taste.
I duplicate the noise free layer a second time, and remove the blend if options so everything is showing, add a mask, and invert so that nothing is showing. Then using my judgement, I use a 40% opaque brush, and remove noise in areas that are glaring in the image. Just look at the whole thing and see where your eyes go to noise wise, and paint into the mask on those areas until it's acceptable. Most of the times it's the areas that are large areas of solid color.
Next, I proceed with my standard sharpening procedures to get the final result.


