Photoshop has some very powerful blending options available. One often overlooked part is the "blend-if" feature, to control what is shown or affected based on the brightness of each pixel either of the current layer, or of the layers below. This video walks you though using the blend-if feature.
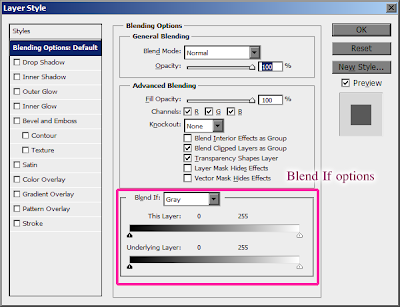
The video explains it clearly, but as a visual aid, double click any layer, and this Layer Style dialog box will pop up. The blend-if function is at the bottom where I've surrounded it in a pink box in this image. You can blend-if using the current layer's (the one you double clicked) brightness values, or those of the underlying layer.

Click and drag on the arrow you want to affect, (yellow box) Black arrow adjusts from the dark end, and white from the light end. To separate, which gives you a smoother transition, alt+click and drag on one side of the arrow to separate them. (orange box) This starts the affect at the inner most arrow, and slowly fades to full affect till the value reaches the outer most arrow. If you drag it till they meet, they snap together again and you'll have to alt+click to separate them again.


Thanks for sharing!
ReplyDeleteVery helpful post