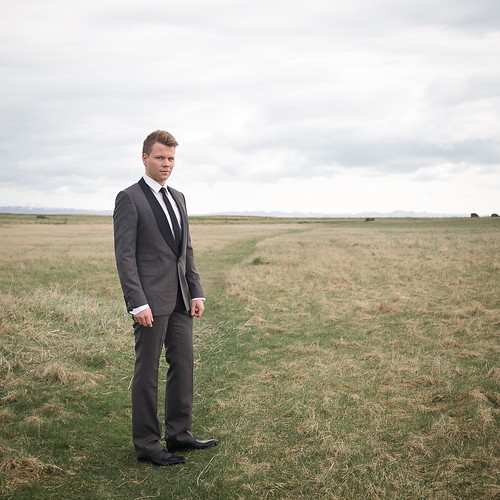
Last weekend I did a portrait shoot with a friend who is graduating (hence the traditional hat). He wanted some images to use for both the graduation brochure, as well as facebook all done at the same time. I had a few locations scouted beforehand that would work well, and asked him to bring his graduation suit and hat, plus a few other outfits in case we needed to switch.
The light cooperated and was quite nice, soft and directional, and it got sunny toward the end right when we needed it. I directed his poses while keeping the light's direction in mind to hit his face in a pleasing way, mostly choosing short lighting, as I prefer (short lighting is where the front and far side of the face are lit, and the close side of the face you can see is in shadow, apposed to broad lighting where the front and front side are lit and the far side you can't see is in shadow), I had the X100 on one shoulder, and my 5D with 85mm 1.8 on the other. With both I shot at maximum aperture, the X100 had way way less purple fringing and was much sharper at it's max aperture of f/2 than the 85 was, but I probably should have stopped the 85 to f2 as well for a sharpness increase, but I wanted the shallowest DoF possible.
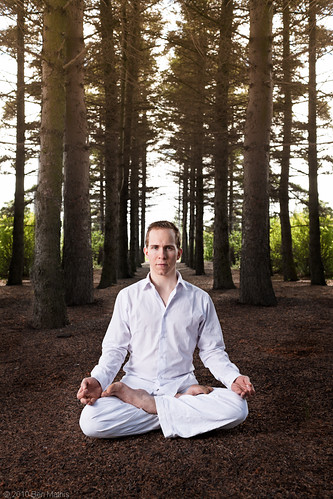
For the first image in the blog, I was sitting on the ground (in order to make him look more grand and tall, and to get mostly sky in, rather than boring ground), with the X100. I had the 3rd gridlines projected so I could put his face in one of the points of power, as it was a wide shot and I needed help guiding the eye to his face. The light was coming from the left (his right), so I had him turn in that direction. With guys I normally try to get them to stand naturally with toes slightly turned out, and ask them to bring their shoulders up and back, but then try to settle so they are comfortable and not stiff. Early on I tell them I will be directing their face turn for lighting purposes, so it's easy to use my index finger to ask them to turn closer to me or further away. Sometimes I use the command, "Ok, now with only your eyes, look at me", otherwise they will turn their whole head from the previously chosen position. For postwork, I adjusted contrast and clarity, white balanced it to be a bit less blue, then added one adjustment brush to the sky to bring it down and add contrast, clarity, and a bit of blue, and another adjustment brush on his face to bring it up, add clarity, and increase saturation a bit.
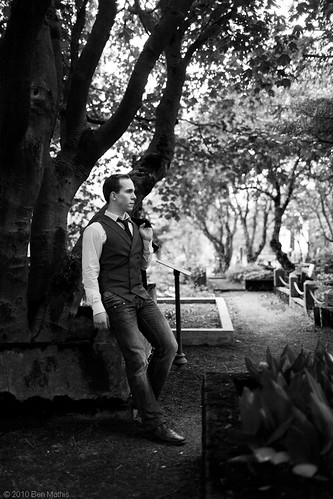
In this one I was kneeling, as I wanted both sky and ground, as I found this grass path to be a great setting. The light was coming from the right, so I positioned him this way so it lit his face in short lighting again, this is why the front of his face is brighter, giving it volume. If we were turned the other way, (to the left) this soft light would hit the back of his head, giving his skull volume, but leaving his face relatively flat. In post, I desaturated the greens a bit, as it was overwhelming the scene, cloned out a few distracting clumps of grass, used an adjustment brush to bring down the sky and add a bit of blue, and up clarity, and then overall scene contrast and clarity adjustments. I also have a special sharpening setting that adds micro volume, rather than really sharpening the edges too much. It uses a very wide radius, and a high masking value so only hard edges are affected, and in a broad, rather than narrow way. I apply this to every image, and change the amount depending on the output size (full amount for the web, 30% for full sized prints).
I love how sharp the X100 is at f/2, with no chromatic aberations or purple fringing. It allowed me to throw the background slightly out of focus for some nice subject separation, while still viewing the background's contents.
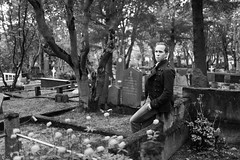
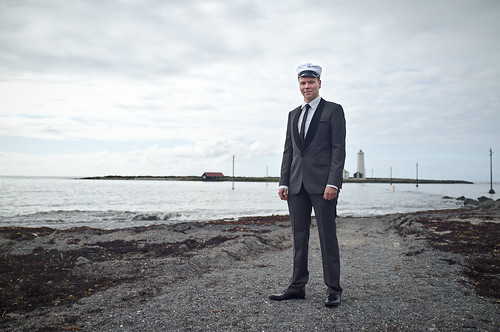
Just to follow up on my last post about focal lengths, here are two shots in the same location. First with the 85mm lens on the 5D and second with the 35mm X100:

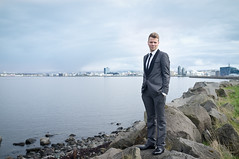
The one with the 85 is tight, and is definitely about the subject as a portrait. It's flattering and cinematic. The 35 is wider and shows the entire cityline of Reykjavik. Neither is better or worse, but they both offer different things. One is a portrait that could be made in any city though, and the other was definitely done in Iceland. (the dark square on the far right is Harpa, the new opera house, and the grey point above it is Halgrimskirkja, the most famous landmark in Reykjavik, the tall dark apartment buildings are also very iconic as part of the beachfront skyline)
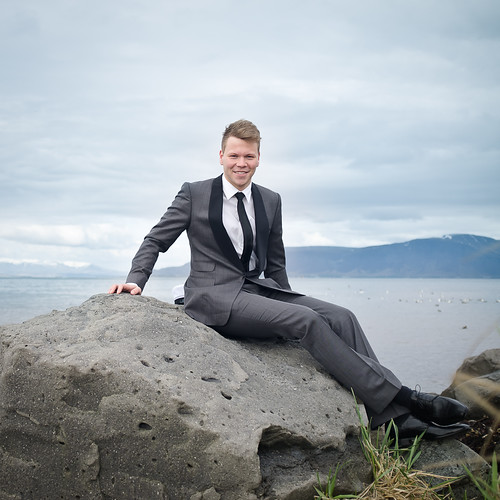
Not the most masculine of poses, but I think it works. The mountains in this direction behind him were so beautiful, and the light was still cooperating. In odd poses like this, it's really important to ask the subject to "settle in" so they feel comfortable. You can see a noticeable difference after they do it, much more relaxed. I might fine tune a pose, but before I take the photo I ask them to get comfortable so it doesn't look too stiff and awkward.