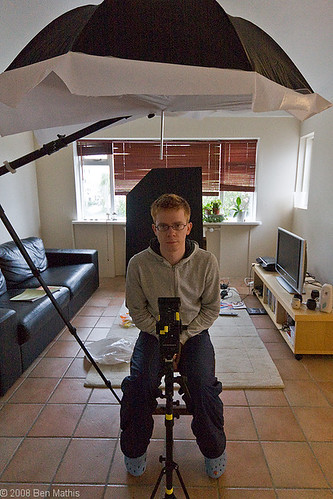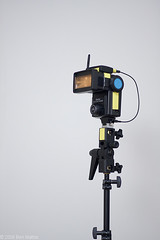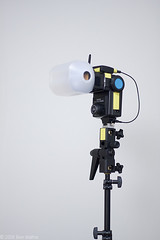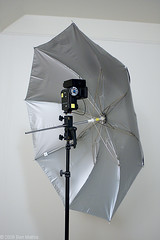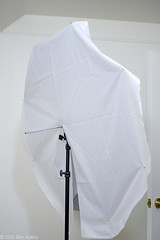
Whenever I can get someone to sit for a portrait session, I jump at the chance. Fresh faces can be inspirational. Two things came together for this particular session. First, I had been bicycling by this exact spot several nights in a row on my way out, at this very hour. The light and reflections of the lake were so beautiful, I knew it would make a great backdrop. Secondly, I'd just purchased a small softbox that would sit on my flash without blowing over, a real concern here in Iceland when running with no assistant to hold the flashes. I wanted to see what I could do with this new light mod. You can see it in this
post, the lumiquest softbox II.
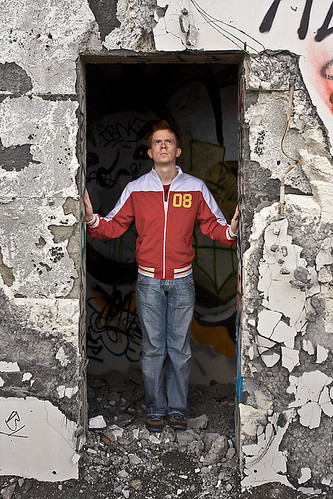
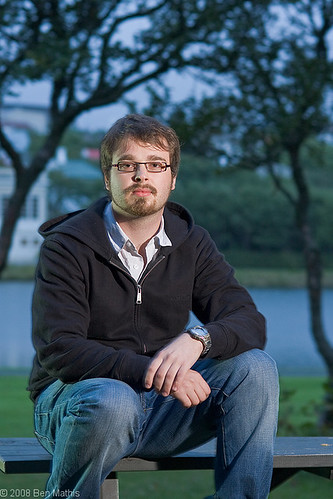
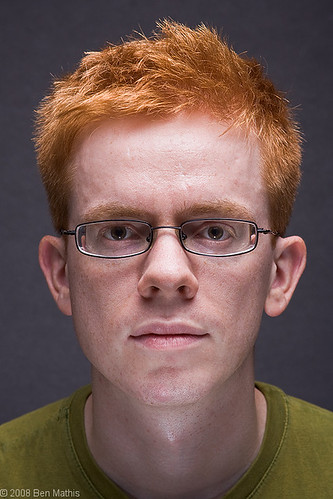
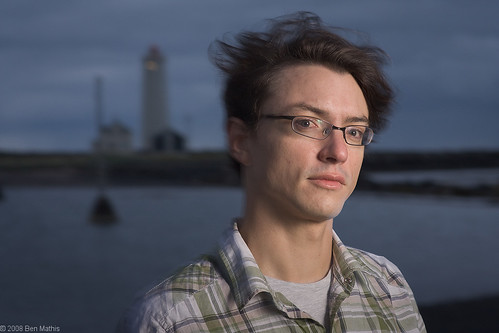
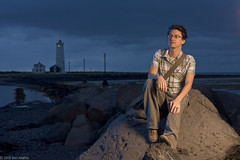
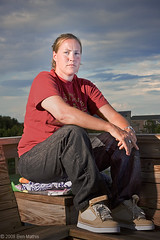
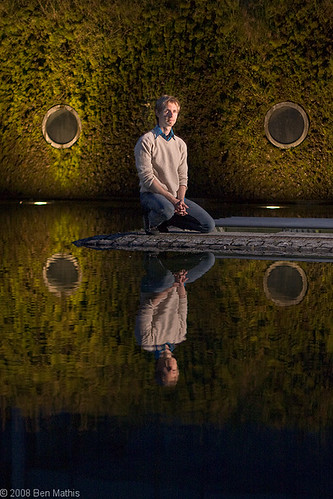
The first shot we met near the city hall, which has this nice ledge that pokes out into the lake. I knew it would give me reflections, and the round windows in the background would provide framing elements.
Settings:
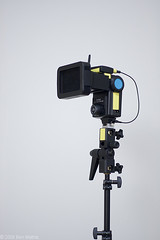
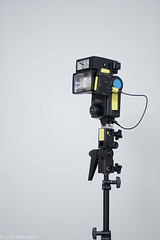
1 Vivitar 285hv
set to 1/16 power,
at telephoto zoom setting,
through 1/2 CTOrange gel,
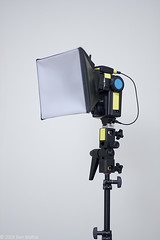
through Lumiquest softbox II,
light stand was at 1.5 meters height,
light was even with subject, and 3 meters to the right of the subject, just outside of the frame,
aimed a bit up to feather downward.
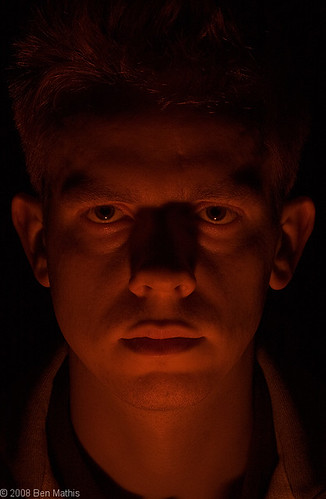
The softbox managed to soften the light more than a bare flash, but not as much as I'd like from this distance. The nose shadow is still quite hard, but in this setting it works well enough. If I use this setting again, I would position a 2nd flash to subject left, with a slight blue gel (as the natural light was already that color) to pop him from the background. (in this photo I faked it in post)
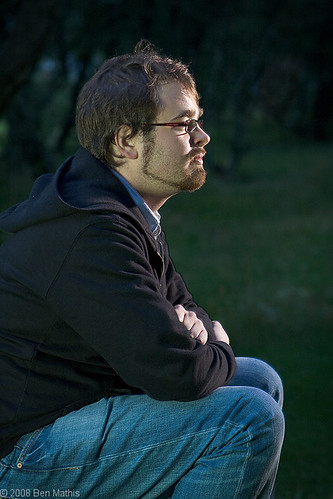
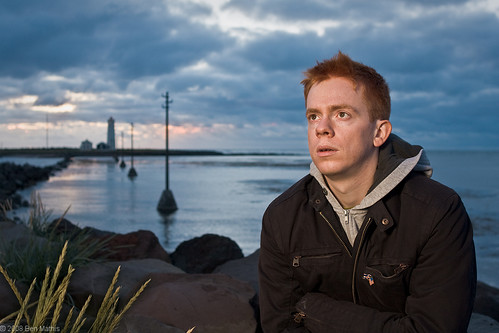
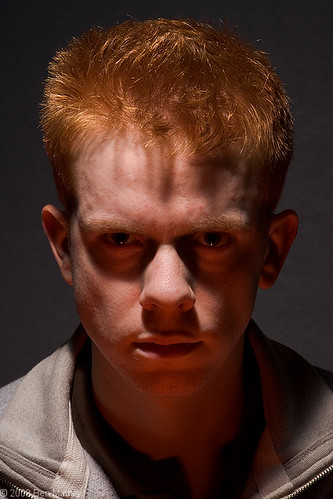
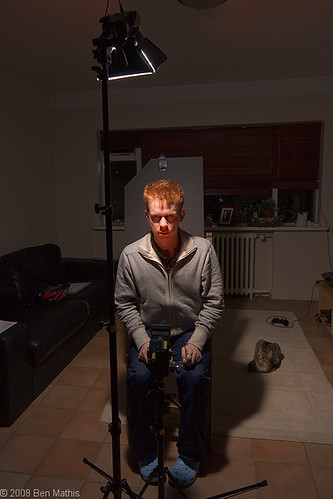
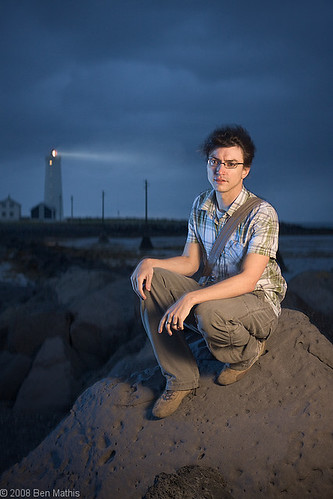
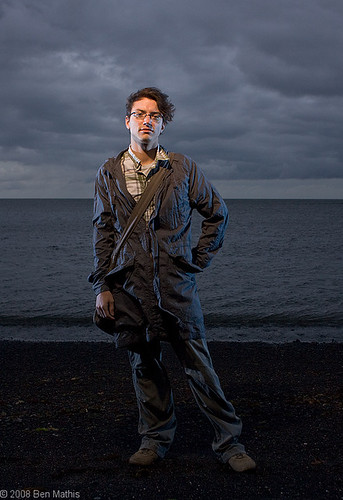
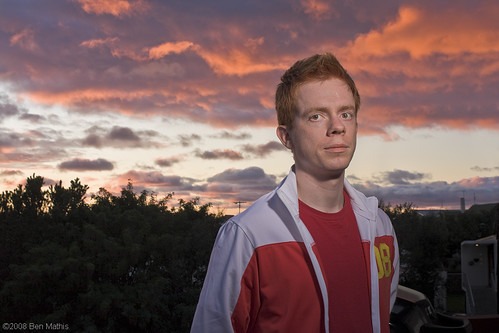
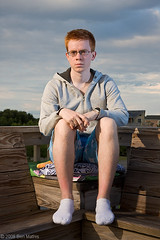
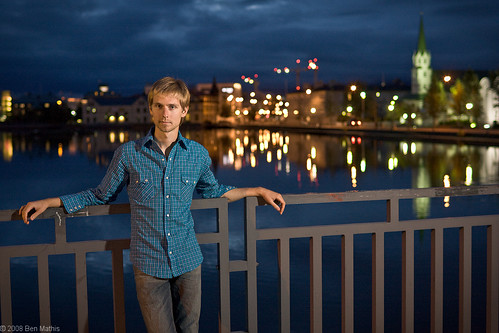
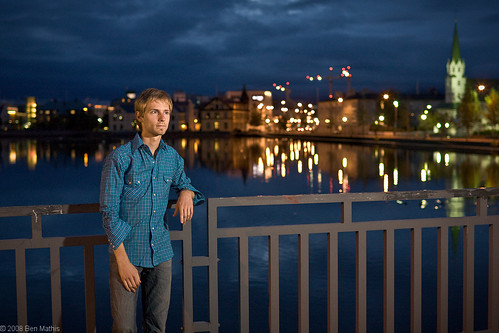
Then we moved to the main location that I'd observed the previous nights. We walked along the edge until I felt the background elements worked best compositionally. I wanted the church and city lights to show in the right of the frame, but I wanted a dark spot for his head to fit. I used my thumb as a stand in for his head as I walked, till I found an area that worked. I still had the softbox on the stand, so I just needed to adjust height and position. Bringing the ambient up to match the flash was difficult. I was already shooting at iso 400, but I had to really drag the shutter for this to work. (dragging the shutter means using a longer exposure than would normally yield a sharp photo, but the short, intense duration of the flash, 1/4000 of a second or so, ensures that the subject is sharp despite the short shutter, sometimes the background blurs a bit in this situation though). The 1/2 cut CTOrange gel provided a nice contrast against the blue background.
Settings:
1 Vivitar 285hv
set to 1/16 power,
at telephoto zoom setting,
through 1/2 CTOrange gel,
through Lumiquest softbox II,
light stand was at 2.5 meters height,
light was even with camera, and 1 meters to the right of the subject, just outside of the frame,
aimed a bit up ( about a meter over his head) to feather downward.
Post production for these was quite fun, as it was my first time using Lightroom 2's new adjustment brush. Tomorrow's post will demonstrate some of my post processing techniques.