Click these for full resolution:

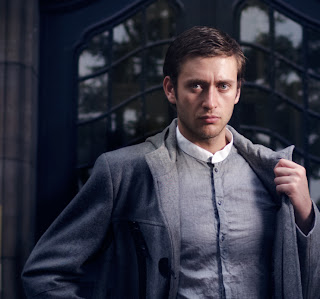
Original. Notice background is reasonably sharp, and the edge between jacket and background is rather crisp.

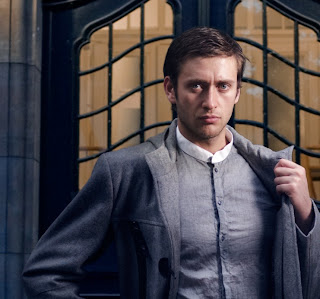
In this one I've brought in a new background. It's the same location, just from a previous shoot where the light was better and the lamps were turned on. I've masked out the model so that the background lines up with his silhouette. The mask is accurate, but it's a bit too crisp, even using the blur tool to smooth the edge a bit.

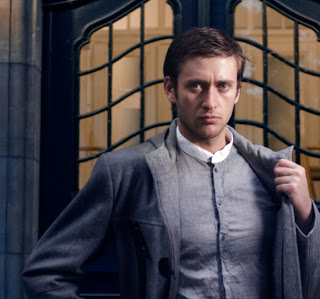
For this version, I created a merged layer, it's a layer on top of all the previous layers that contains a merged copy of all visible layers. You can do this with ctrl+alt+shft+e Then I ran it through filters > blur > lens blur and choose an 8 aperture blur, and blurred it only 10 units, just enough so that the border between subject and background became natural. The resolution of your image will require different settings to get this accurate.

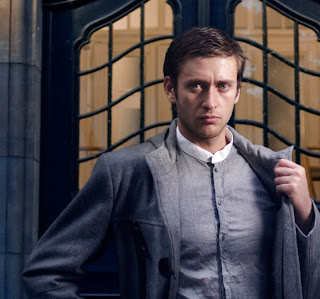
For this final, I added a mask to the lens blurred layer, and inverted it. This makes all of the layer hidden. Now using a very soft edged brush, I went around just the border where the subject changes to background, and revealed the lens blurred layer. This now gives a much more natural transition where it looks like the edge of the subject is mixing optically with the background.


That's really cool, keep up the good work.
ReplyDeleteJohnny Scriv